If you are a self-taught blogging DIYer, you might have seen these gorgeous headers and buttons with mouseover effects and you wonder, “How do they do that?”
Today’s tutorial is going to teach you how!
One disclaimer — I’m going to show you how to create a fully interactive header, but I’ll be giving instructions for installation on the Genesis Framework. But don’t despair if you don’t have it! The same concepts in this tutorial can be used for creating buttons and other design elements, not just headers, so follow along!
Let’s start with a header that’s all made up. If you aren’t sure how to create headers, I have a few resources to get you started.
- Creating a Header in PicMonkey
- PicMonkey Tips
- Creating a Header in Canva
- Canva Tips
- Making Social Media Buttons
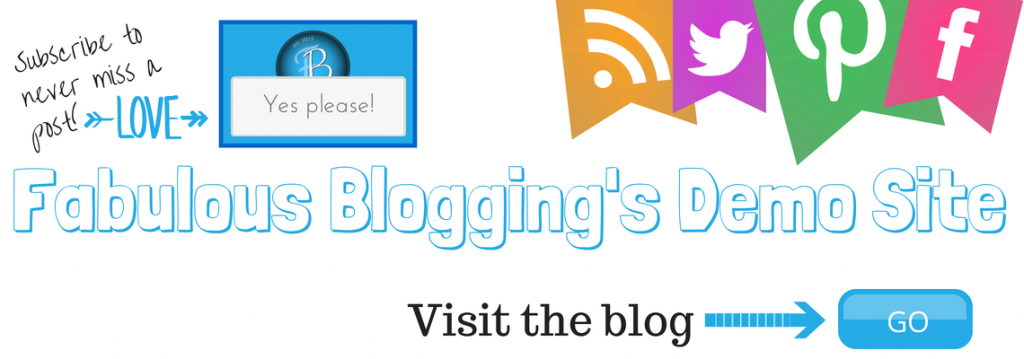
So here’s the fun header I came up with using Canva.
Now what I want to do is make it so that whenever someone hovers over a particular spot on the header, the element changes color to show that there is a link. In order to do this, you must make ONE NEW IMAGE per element.
First, I’ll change the sign up element.
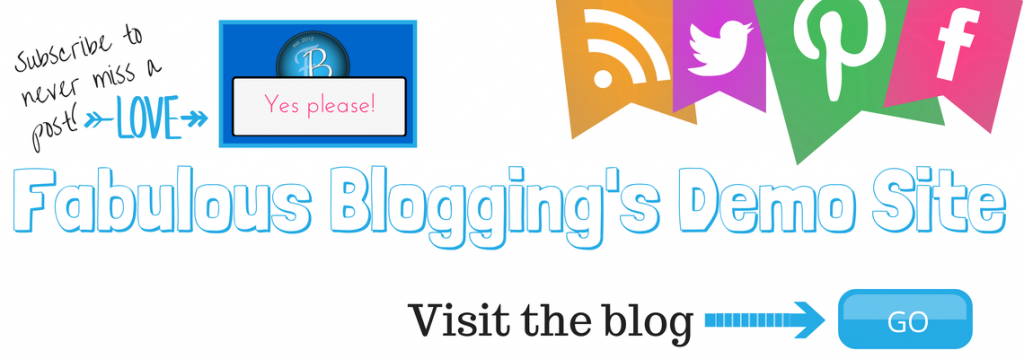 You’ll see how I changed the box outlines and the colors? I’m going to keep doing this for each element I want activated. This is a very important note. When you are finished changing one element, put it back to the original! In Canva, you can simply hit undo (Control Z) until the element is back the way you had it before. By the time I was finished, I had seven separate images (plus the original) to make the activated areas: the sign up, the go button, the four social icons, and the title.
- When you have all your images, upload them into your media library.
- We’re going to be working on the free Image-Maps.com website.
- Copy and paste the media file URL of your original into the field on Image-Maps.com.
- Click continue once it’s loaded.
- Then follow the instructions in the yellow box, clicking to open a menu.
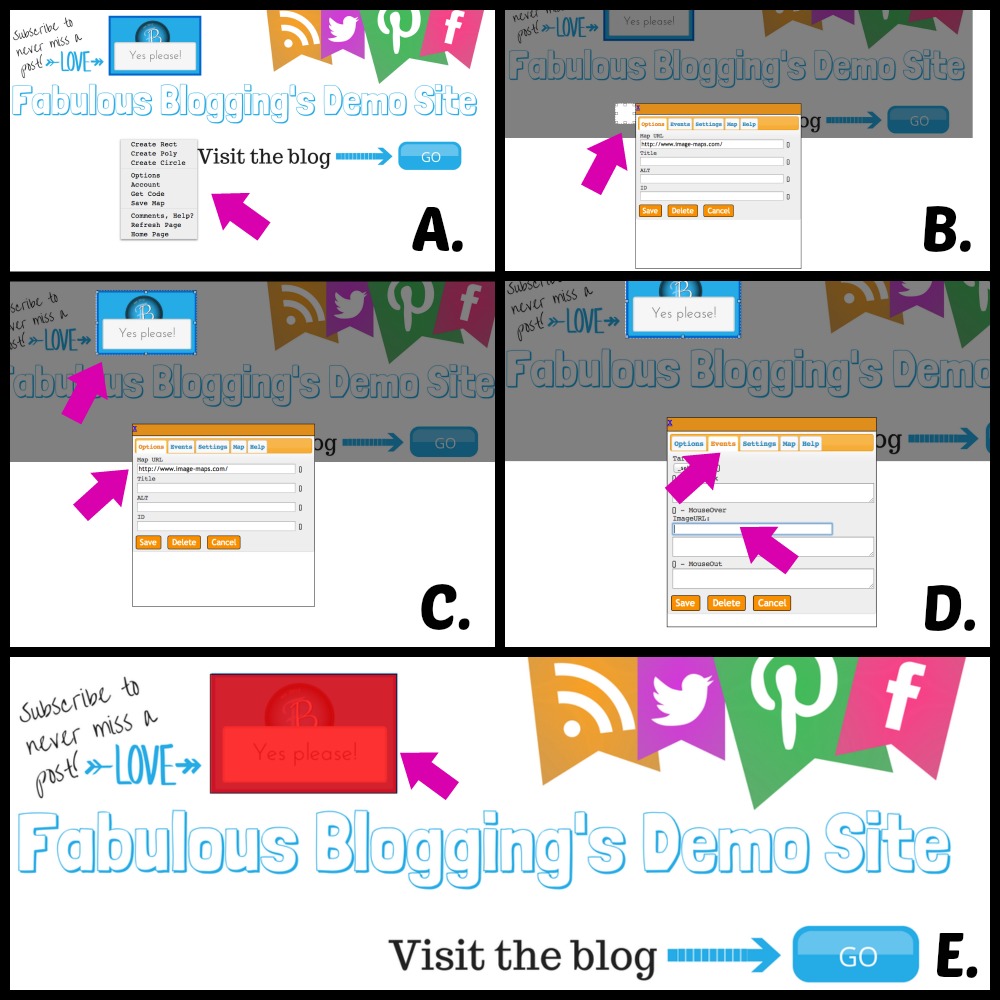
- Choose CREATE RECTANGLE. {Screenshot A & B}
- Click and drag until you have an outline on the first element you want to activate. {Screenshot C}
- In the box where it says http://image-maps.com, replace that with the URL you want the element to go to when clicked. {Screenshot C}
- Then click on the events tab. {Screenshot D}
- Where it says IMAGE URL, you are going to put the media file URL of the image when that element is activated. {Screenshot D}
- Click save. The box will turn red to show it’s activated. {Screenshot E}
- Repeat this process for each element. Don’t worry if the red box disappears when you begin with the second element. It’ll be there when you’re done.
Now it’s time to get your code.
- Click on the menu once more, and this time choose GET CODE.
- Click on the HTML tab and scroll down a bit. You’ll see a big block of code.
- Now you need to copy and paste that code into a widget area on your blog.
Here’s where the tutorial breaks down for people who don’t use Genesis. If you have a theme that only allows you to put an image where your header image is, you might want to consider a more robust theme like Genesis that allows you to swap out the header image and place code there instead. Other themes can do this as well (or you can jerry-rig a workaround), but Genesis is the easiest.
- First, you’ll need to install the GENESIS HOOKS plugin.
- Go to Plugins and type Genesis Hooks into the search bar.
- When it comes up, click install.
- Activate the plugin.
- The Genesis Hook boxes will now be in your Genesis menu in your dashboard.
- Click on it and scroll until you see where it says genesis_header.
- Paste the code into that box and hit save!
- One last thing. You’ll need to put a bit of code to make it look just right.
- If you want to center the image in the hook box, place this code at the beginning of your code <div align=”center”> and then place this at the very end </div>.
- Lastly, you’ll want to go in your theme where you can edit the CSS (unless you’re on the Prose child theme, you go to Appearance > Editor and click on the stylesheet).
- Use the FIND function on your browser {Command F} to find where in your stylesheet the word “header” is (or you can just peck and scroll).
- You want to replace the code that is there with this code instead… .site-header {display: none;}
This prevents the general header area (which would normally be an image) from displaying. If you are nervous about replacing the header code that is in your stylesheet, copy it onto your clipboard so you can always put it back!
This same concept can be used for newsletter buttons, social media buttons, and other design elements that aren’t as big and complex as your header. I’ve done this entire tutorial using Canva, PicMonkey, Image-Maps, and my Genesis demo site (using the free Hooks plugin). Now it’s your turn.
