Problem #1: I want to add formatting to a text widget, but I don’t know the HTML for it!
This is a common problem for bloggers who want to add a photo (usually left aligned) with text that is either bold or italicized, formatted with colors, and needing to go in a sidebar. How now brown cow?
- Go into your WordPress dashboard and click on POSTS > ADD NEW POST.
- Add your content and your image.
- Then format it with the picture left-aligned, highlight the text and format it with the styling and/or color you wish.
- Click on the TEXT tab on the right hand side of the post screen.
- Copy all the code.
- Go into APPEARANCES and WIDGETS and paste the code into a text widget box.
The trick is that you are using the built-in HTML code generator that WordPress has so you can avoid all the messy business of writing the code. You can add links– pretty much anything you can do in a post, you can then copy that code and stick in any widget area on your site.
Problem #2: I want to make one of those cute “Grab My Badge” buttons, but I am intimidated by the thought of designing one and writing the code for it.
- Go to PicMonkey and click on the DESIGN option.
- Choose a square.
- Click on the TEXT icon and add your text.
- Then click on the overlays button and upload your logo (or image). Or, you can design one right in PicMonkey.
- If you want to, add some sort of border.
- Crop it so there is very little extra space around it.
- Then choose the frames icon and we’re going to round the corners and make a transparent background.
- Finally, you resize the button down to 200 or 150.
- Save it as a PNG.
- Come into your WordPress dashboard and click on MEDIA > ADD NEW.
- Upload the image and grab the URL by clicking on edit once it’s uploaded.
- Go to the GRAB MY BUTTON website.
- Fill out the fields and paste the IMAGE URL of the image you just uploaded.
- Hit preview to check out how it looks, then click the green GET CODE button.
- Copy and paste that code into a text widget on your sidebar.
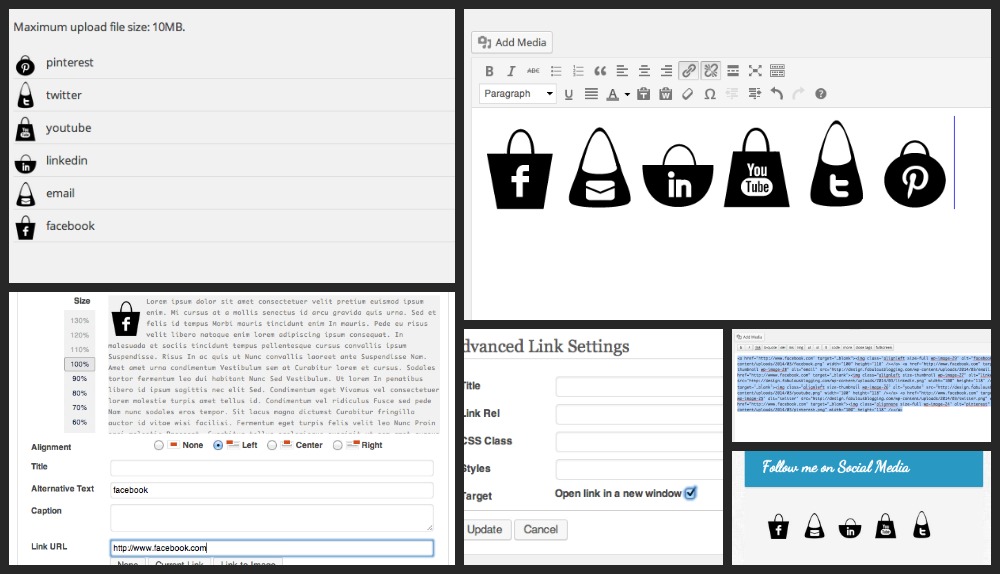
Problem #3: I want to make my social media buttons all butt up next to each other nice and neat and cute and I want them to open up in a new window when they are clicked on and I don’t know how to code it all!
- Once you’ve got some that you like, add them to your media library by clicking on MEDIA > ADD NEW.
- Then go into a post screen as if you were writing a new post.
- Click the add media button and add all the images you are using. Make sure the alignment is set to none.
- Then click on each image one at a time and hit edit. When the screen comes up, type in the URL of the web address you want it to go to (at the bottom).
- Then click on the advanced tab at the top and go to the bottom where it says target. Click open in new window!
- Once you have it as you’d like it, click on the text view and copy all that code.
- Paste it into a widget area.
- It’s important to note that you must first resize the icons in Picmonkey if you want them all to go in one horizontal line.
Problem #4: I want to make an image that is clickable in different spots!
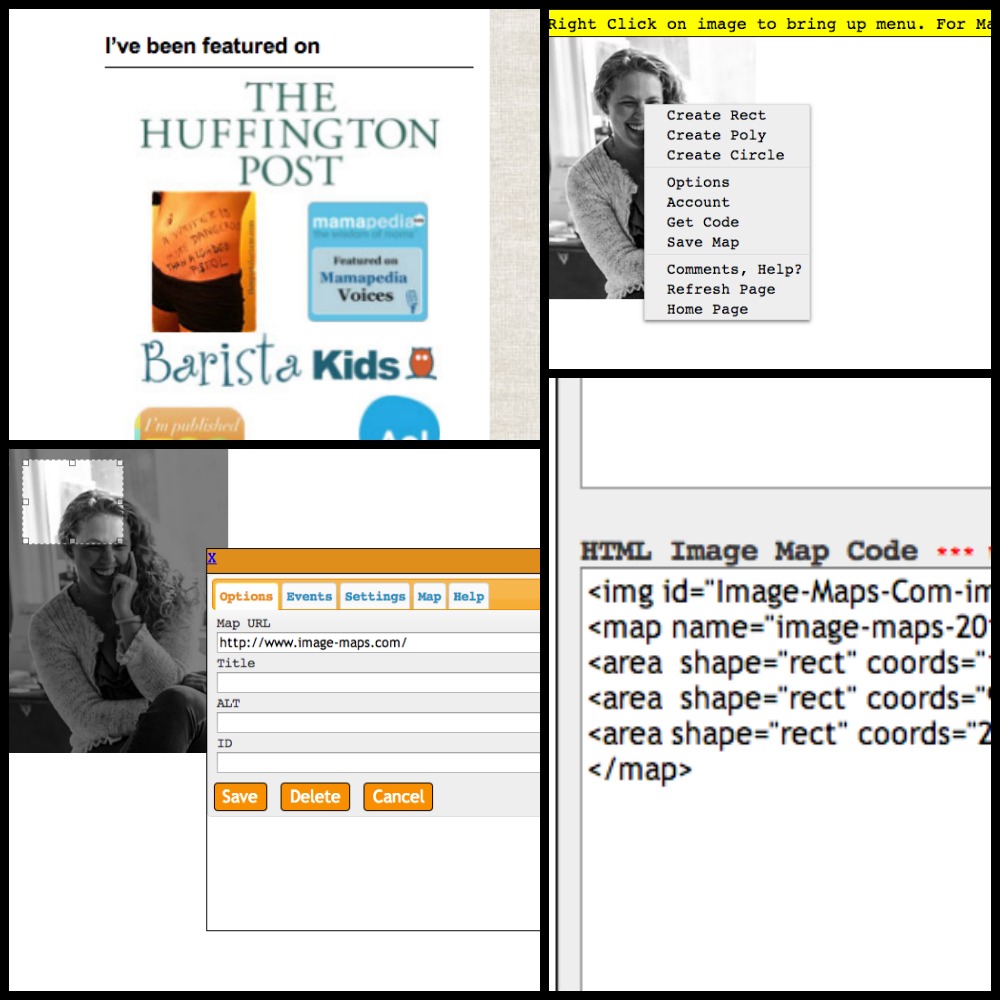
Let’s say you are featured in several different magazines and you want to create one image where each magazine cover is a clickable link. One Funny Motha has a badge on her site that is a mapped image. So how do you do it if you don’t know code?
- Create the image first (in PicMonkey, Photoshop, etc.)
- Then upload it into your media library by clicking on MEDIA > ADD NEW.
- Grab the file URL and copy it.
- Go to image-maps.com.
- Paste the URL and hit start mapping. (you don’t want to choose the upload option because then the image is saved on their server, not yours).
- Right click on the image and hit CREATE RECTANGLE.
- Click and drag the space you want clickable and type in the URL. Hit Save.
- Then right click again, and repeat the process as many times as you need to.
- When you’re done, right click your image again and click get code.
- Then scroll down and copy the code.
- Place it in any widget area on your site!


