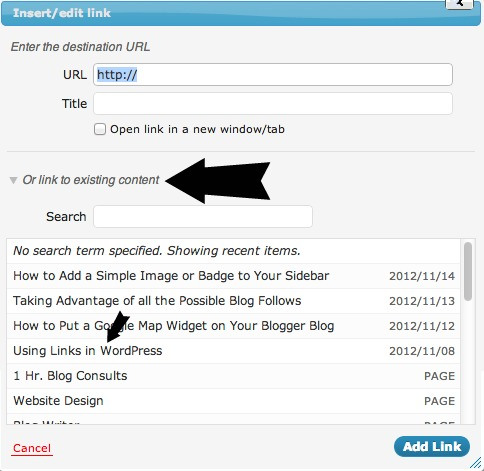
1. Do you want to create a hyperlink in your post that references an older post? Rather than having to type out the URL or look for it in another window/window, use the search for other content arrow in the link box. Choose the link you’d like and click ADD LINK. There is no reason to check off the box “open in a new window” when you are referencing your own site. In fact, that can get super annoying for mobile readers. Only use that when you want to take someone to a web page off of your site.
2. The screen options tab at the top right of the screen will give you more options on your post screen. Do you want to change the author or adjust the commenting ability? Enable all the options in the screen option tag. Then they will appear as options below your post to turn on/off or edit.
3. Your theme may support a format option on the right-hand side. These options change the layout look of your post. The WordPress default themes use formats. Pick from the options to change the format of the page to match the type of media you want to display.
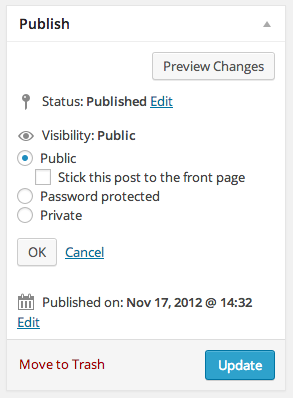
4. You can create “private” posts that are only available to a specified population of users. On WordPress.com, you can choose to make your entire blog private, but on self-hosted, the easiest way to hide content is to password protect it. In the publish box, click on visibility and change the setting. A box will pop up that allows you to write in a password. Click okay.
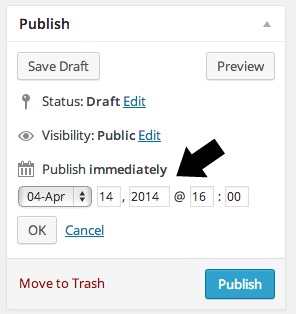
5. Preschedule your posts if you think you will be away for a while. Just be sure your timestamp is accurate to the time zone you are in! To change the timezone, go to Settings > General.
6. Write an excerpt (activate it in the post screen option) to customize how your post appears around the web. If you are using an SEO plugin, it’s called the meta description. One difference between the two: The excerpt box will display if you have your blog posts set to an excerpt format, whereas the SEO meta description usually only shows up in Google search results or in places where you share the link (like on social). The excerpt will show up in RSS feeders (if your website is set to only show excerpts).
7. Make sure only an excerpt of your post blasts out to email subscribers. If they are reading the whole post in the email, there’s no reason to click on the link and go to your blog. To change how your blog posts display, go to SETTINGS > READING and change the option to summary.
8. If you want to control how much of a post displays on the homepage, use a jump break. It’s also called a more tab and it cuts off the text and inserts a READ MORE link for people to click.
9. You can edit the permalink of the Post URL if you changed the title or want to rename it. Click edit next to the link that appears under the post title. There are several instances when you DO NOT want to do this – and that is:
- When you’ve already published a post and shared it online
- If you are on WP.com and think you may move to self-hosted. Why? Because when a website imports and a redirect is done, custom permalinks can cause issues.
10. Download a WordPress app on your smart phone or tablet so you can add content, check your stats and respond to readers on the go.
11. Use the little eraser button to undo pre-formatted text that looks wonky on the post screen. The eraser helps get rid of any extra formatting that may have happened if you wrote the post in a different application. You can also use the T on the clipboard button to paste text and remove extra spaces and tabs.
12. Use the quote button to accent certain parts of your text.
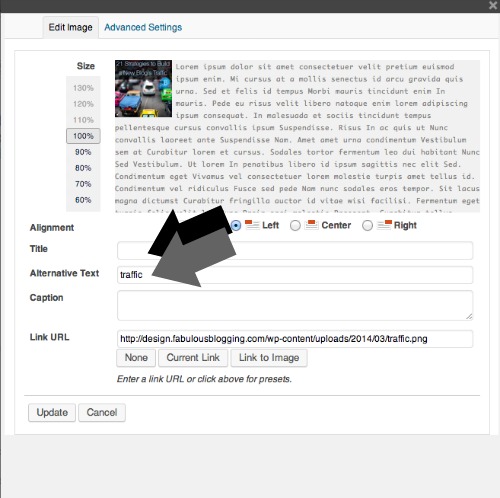
13. Change the name of your images to keyword friendly titles. That way if people are searching in Google images, they are more likely to stumble upon your website.
14. Use the toggle full-screen mode if you are easily distracted when writing. The fullscreen button is next to the jump break.
15. Menus can be created using pages, categories, or external links. You can even use a combination of all three! When you first set up WordPress, it uses your pages as a default menu.
16. Do you want an author bio to show on every post? Edit the description in your profile and it will show up! Go to USERS > EDIT and adjust your description and add your various links.
17. WordPress.ORG users can create an archive index page following these instructions. This acts as an index for your entire site and is a nice auto-populated list of your posts, ordered by date.
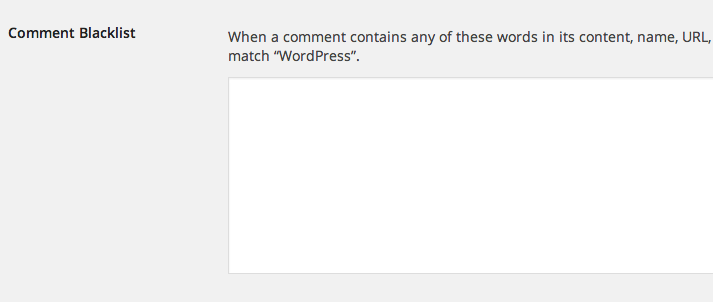
18. You can blacklist cyber bullies using email addresses listed in the discussion settings of WP. You can also filter out any comments that use trigger words you define.
19. Do you want to change how many posts show up on the main page? Go to settings and then click on READ. You can change it there. If you like infinite scrolling (which is when posts just keep loading and loading), you can install Jetpack and activate the infinite scrolling module. Of course, not all themes cooperate well with it, so that’s something note.
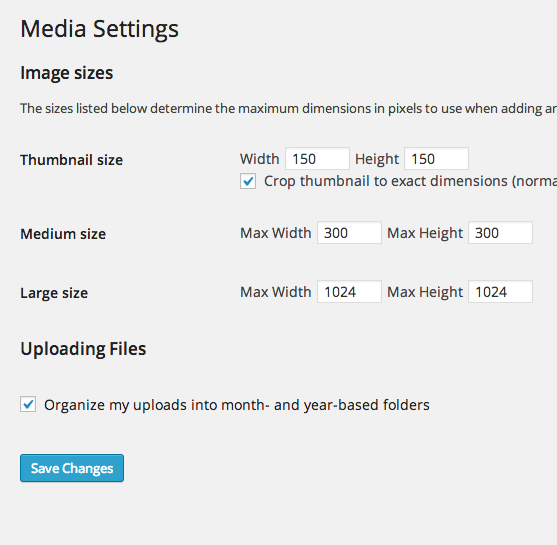
20. Change the media image sizes (so that thumbnail, small, medium, and large are set to parameters you generate). Go to settings and media.
21. Get a breadcrumbs plugin that allows users to easily find their way back to the homepage with a trail like this Home > About Me > Personals. Get the plugin here. Several themes like Genesis and Weaver will automatically include breadcrumbs in their structure.

22. Did you know that you can share powerpoint, word docs, and pdfs on your blog too? Just click the image button to see all the file types available. You can upload them through the media library just like a photo. When you want to include them in your post, they will be inserted as a link that opens up a new tab.
23. Do you struggle with getting your numbered lists to format correctly? Simply type out each item in your list and hit enter. Don’t try to use indented spaces or tabs or anything fancy. Just type, return, type, return. When your list is finished, highlight all of it, and click on the either the bulleted or numbered list button in the toolbar. It will automatically adjust the spacing, indentation, and add either a bullet or a number!
24. Do you struggle trying to get two images to display side by side? There are a million plugins you can use as well, but I prefer to teach with the basics first, because installing something that could weigh down your site. The easiest way is to go into PicMonkey or Canva and take the two images and make them into one collage.
25. Do you feel confused about the difference between a Page and a Post? A page is a static piece of content. It’s like a web page. It isn’t dated, nor does it show up in any sort of RSS feed. Great uses for pages are your ABOUT page, RESOURCES page, CONTACT page. A post is a dated piece of content that gets pushed out to your RSS feed. It’ll show up in readers. It also is categorized and tagged in your database differently than a page. Think of a post like a daily newspaper article and a page as a brochure for your business or blog.
Many of these work for both WP.com and WP.org users, but any mention of customizable plugins is for WP.org users only. For WP.com users, the edit screen is now a new light blue color with a different interface. You’ll have to revert to the classic editor in order to make sense of these tips. The option to revert to the classic editor is on the bottom right of the edit screen.
